Health warning! Sawdust can cause irritation to the eyes, throat, lungs and so on. Sanding, especially with power tools, can release a lot of dust into the air. If you have the choice, do heavy duty sanding outdoors and stand upwind.
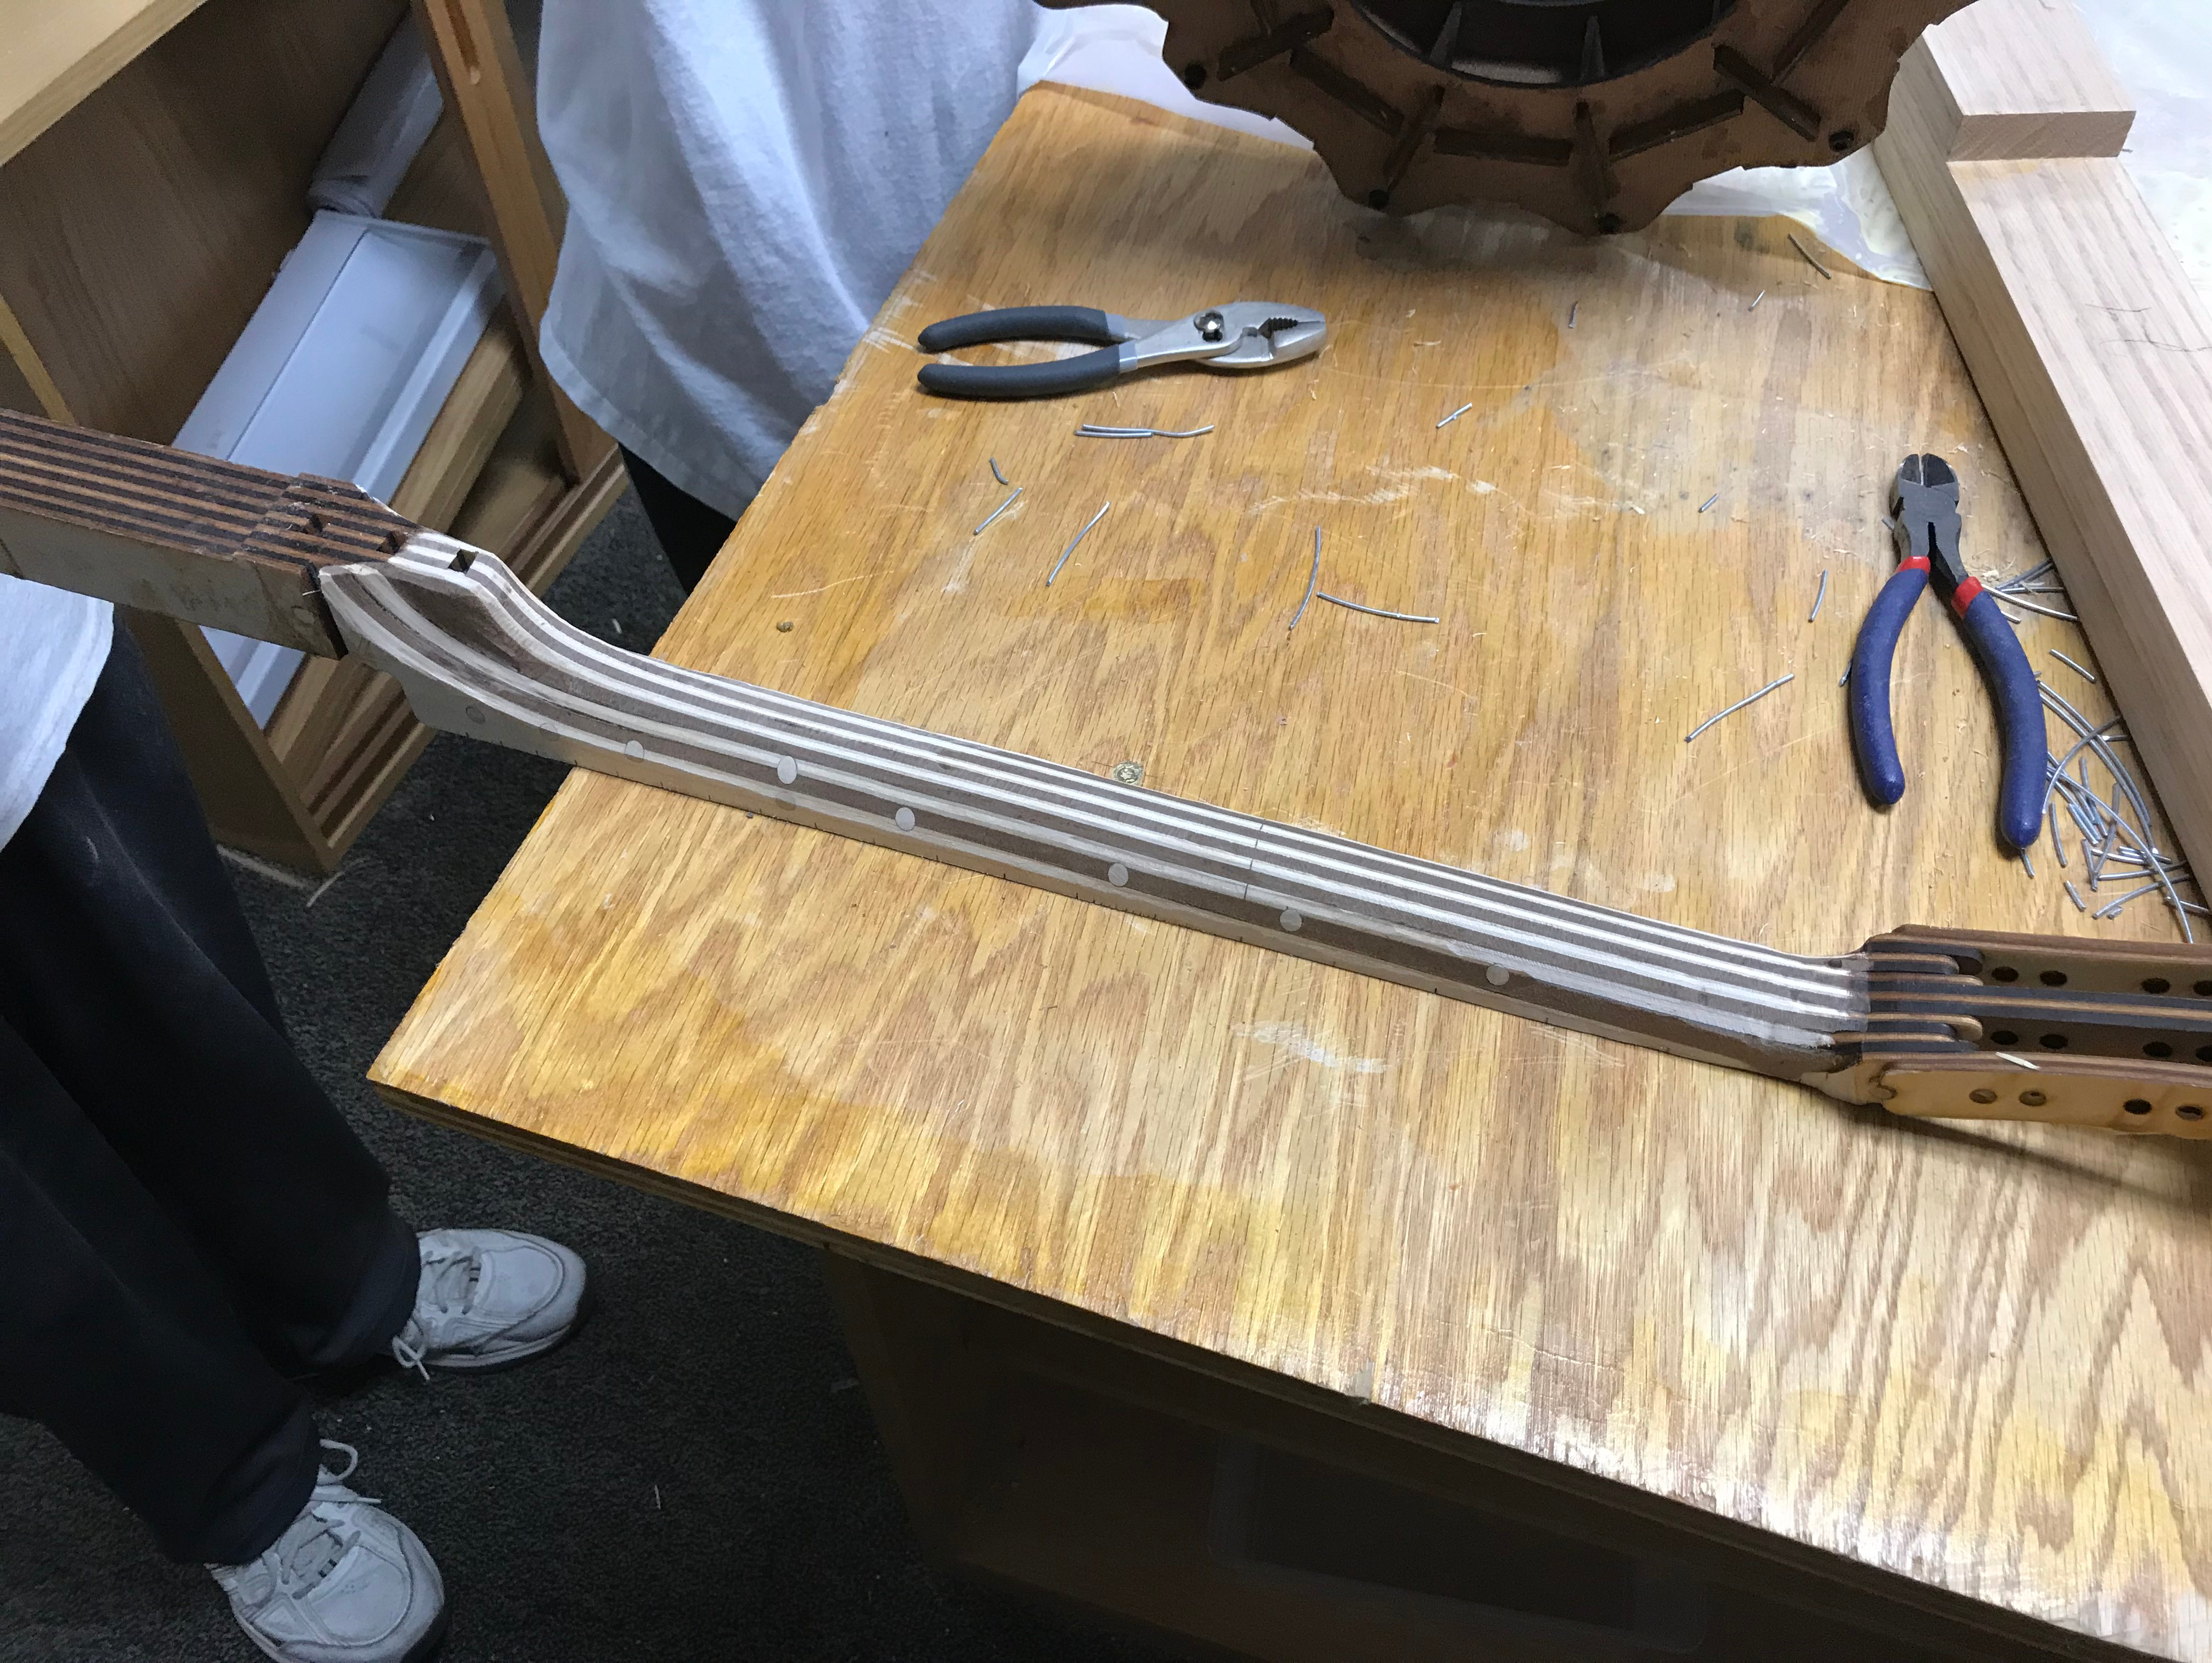
The layered neck should be filed or sanded until all the “steps” are gone and it is smooth.
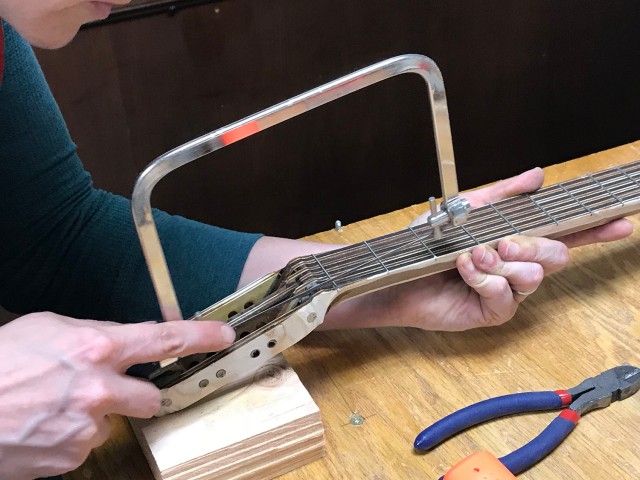
To get started, I suggest it will help to cut off the dowels pretty close to the neck. A hacksaw blade or the fretsaw would work well:


Neck taper

Use a straight edge and a sharpie to mark the neck taper lines shown. It may be a useful first step to sand the neck to the line on each side.
Shaping
Various ways of removing material may work & you may need to try different tools as you work on different parts.
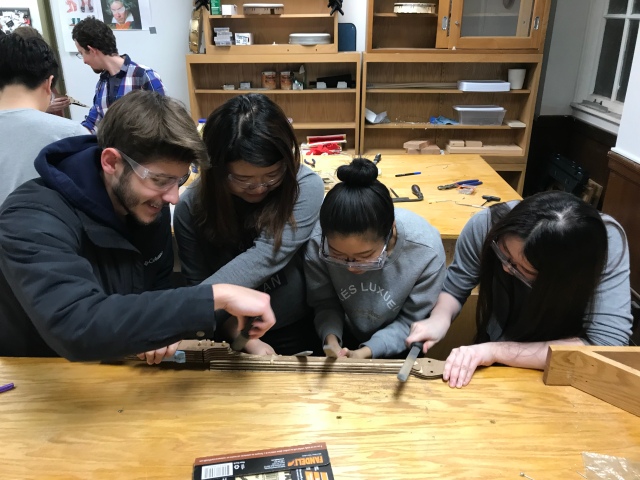
In the picture above the artisans are using metalwork files, which is OK but may be kind of slow. Suggest start with “surform” rasps like these:


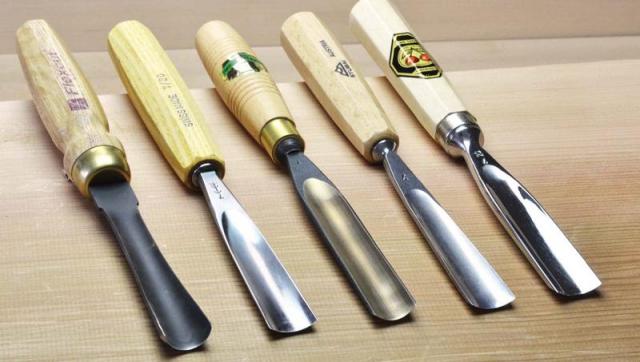
You will also probably need to use some carving gouges for concave areas. Only cut AWAY from your hands and use plenty of clamps to restrain the work.
Another powerful tool that is worth knowing about: angle grinder with flap disk. This combination is a beast and can quickly remove material. With power comes the possibility of doing a lot of damage quickly. Clamp the work securely to a bench. Wear eye and hearing protection. Keep both hands on the tool.


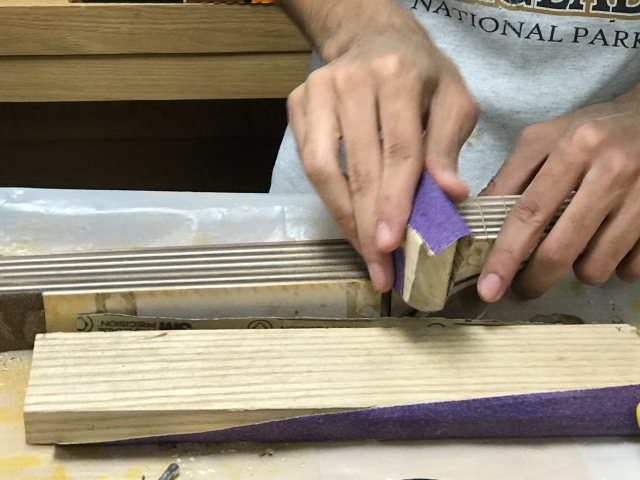
Sand all surfaces with 200 grit sandpaper (or finer, if you prefer).
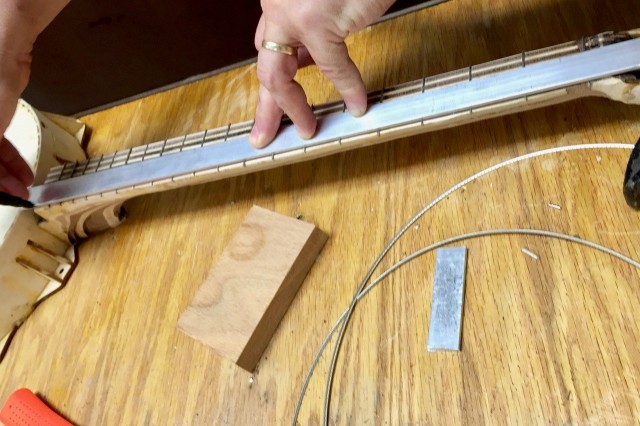
Use a sanding block as you sand the fretboard since it is good if it ends up straight and flat.
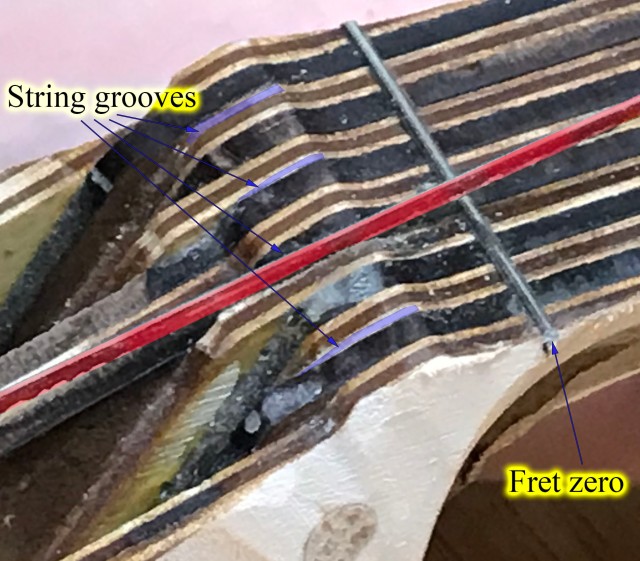
Cut string slots near nut (left end of strings)